Skip to content
Home
Before & After
Our Story
Contact Us
Home
Before & After
Our Story
Contact Us
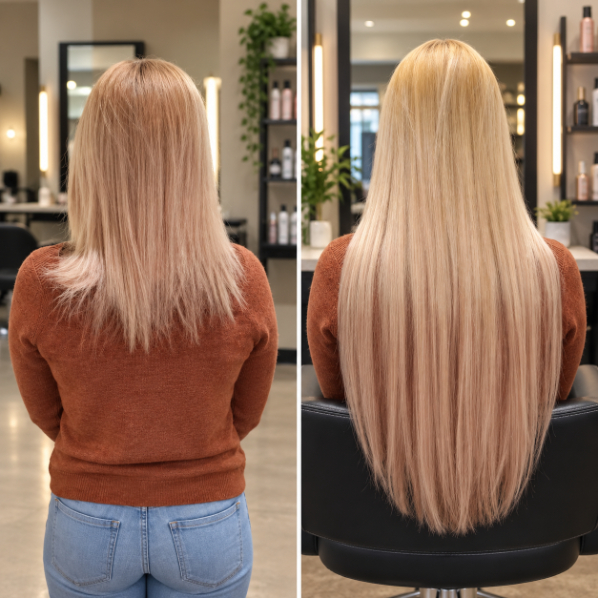
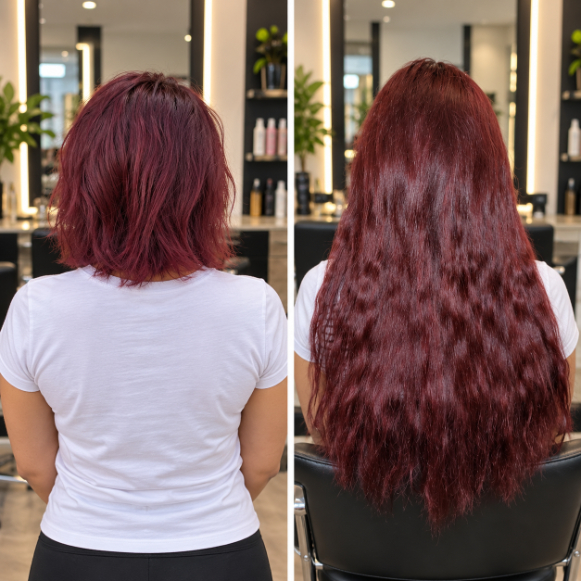
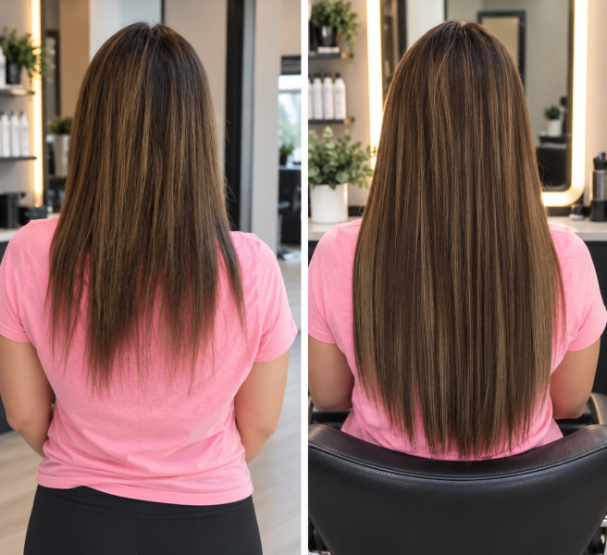
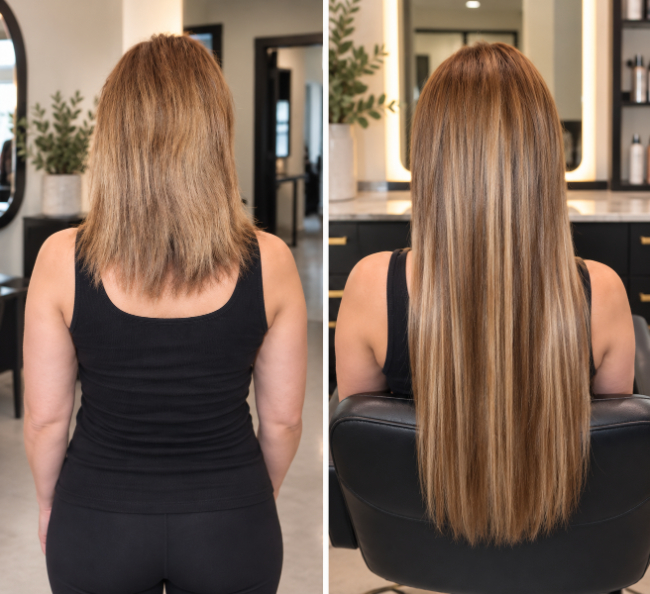
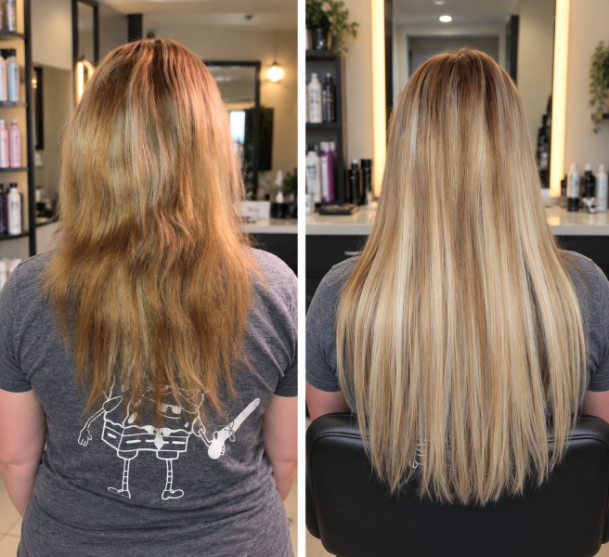
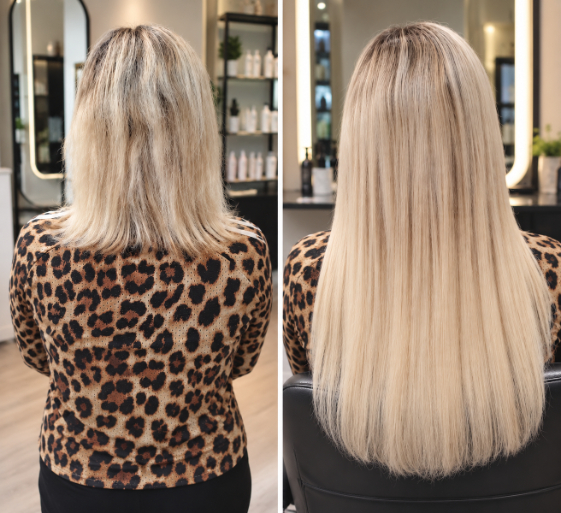
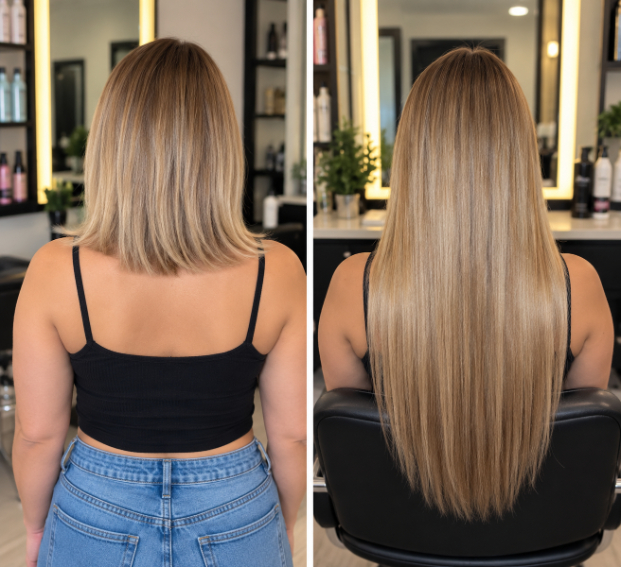
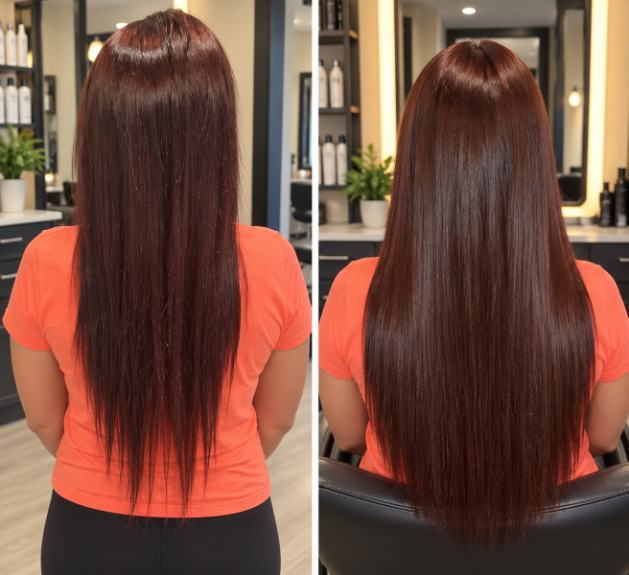
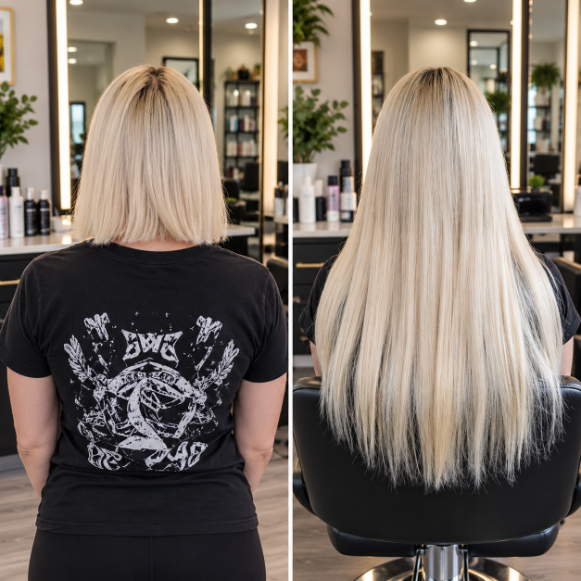
Before & After
Scroll to Top